


Another Resin Redo
In an effort to “Make This Town Great Again”, the local boil water advisory is being compensated for by additional chlorine and because more is better and Provincial legislation has no cap on how much, more is used. At times the bleach smell is quite overpowering and it certainly drys out skin and irritates eyes. But efforts to compensate for high levels of ammonia by bleach bombing result in a toxic yellowish mix with it’s own destructive powers.
We now use a 5 micron pre-filter followed by a carbon filter and both are pulled and rinsed daily. Yes, that’s right – once a day and the rinse comes out orange every time. The 5 micron pre-filter then sits in CLR over night to be rinsed again for re-use until it just can’t be done anymore and is replaced. The carbon filter is rinsed and used for only one week and by the end of the week, it obviously needs replacing (bleach smell is back).
Unfortunately, before the addition of the pre-carbon filter the water softeners paid the price. Or perhaps we both did as resin isn’t cheap. Both suffered rapid resin decay into a dark mush and the entire inside workings were coated in black. I won’t go into how to disassemble the softener except to say its likely best to lay the whole thing down on the floor close to a drain. After removing salt, the resin cylinder can be taken out and the head pulled. Taking the resin out often requires lifting, tilting, and shaking the cylinder especially when resin has turned to mush. Heavy work.
The tarnished resin tank took much cleaning effort with CLR. But how does one scrub the inside of resin tank seeing it is long and only has a small opening? The secret is to duct tape a scrubby to one length of chimney sweep pole. The fiber glass pole is just the right length and provides the ability to put some pressure on the walls of the tank. It still takes a lot of scrubbing to clean, but ends looking new.
As for the rest of the head, I cleaned as much as possible without disassembling. Then partial reassembly in prep for new resin.The float was installed into the brine tank along with the cylinder and then the top cap which holds the cylinder in place was added. Next, the center water tube was placed in the cylinder. A bit of duct tape supported it and it was also capped with duct tape to prevent resin falling in.
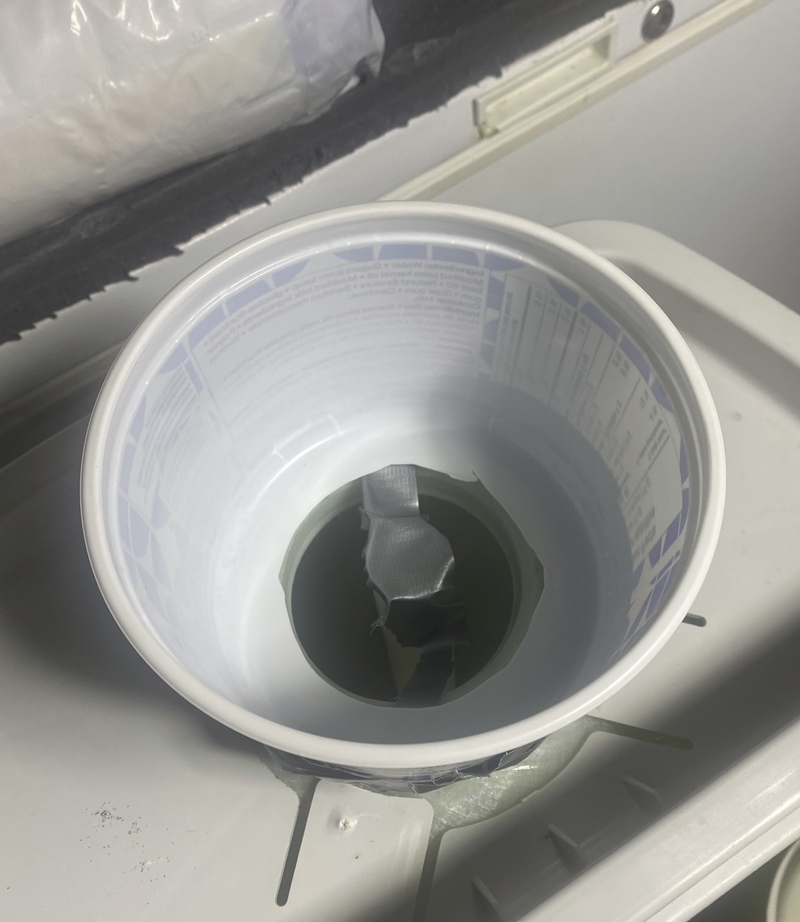
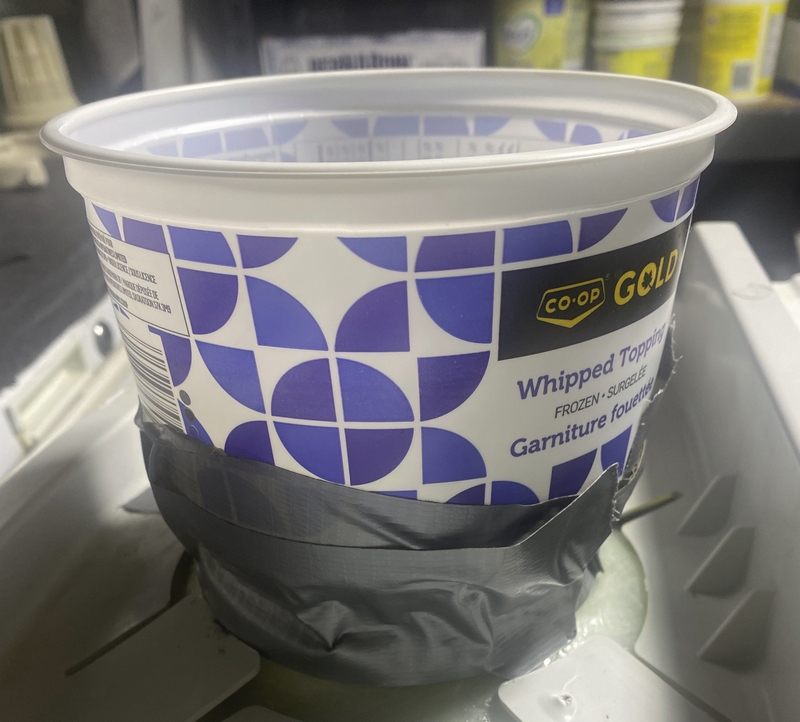
Online funnels are expensive so a repurposed old Margarine tub was cut and fit easily enough. The large bottom ring was a perfect size to follow when making the hole. Duct tape is your friend here to secure it to the tank. As you can see, it doesn’t look pretty but it gets the job done.
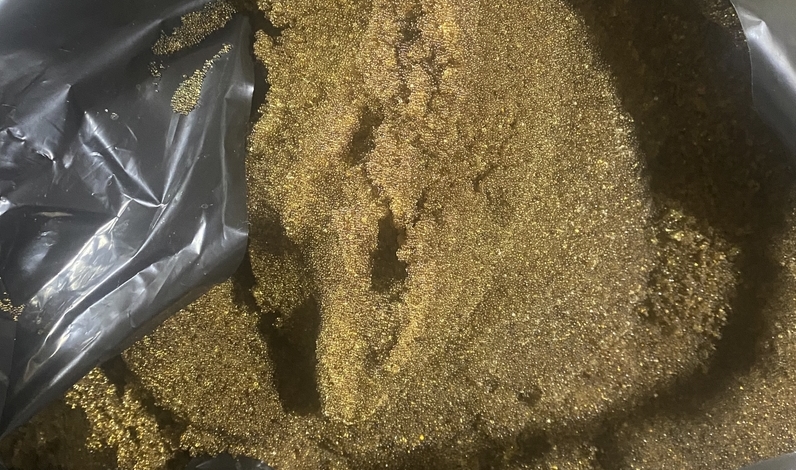
The resin comes with a tear out funnel that doesn’t work well and trying to lift a bag of resin with a funnel that gets clogged all the time is just not fun. Like others, I just cut the bag from the middle of one side. Basically, make an X and peal back all four parts. To help keep them out of the way, duct tape them down. I also added a bit of a duct tape riser fence on the back side to help keep resin from coming out the wrong way. It was a simple scoop and drop and another Margarine container was perfect for that.
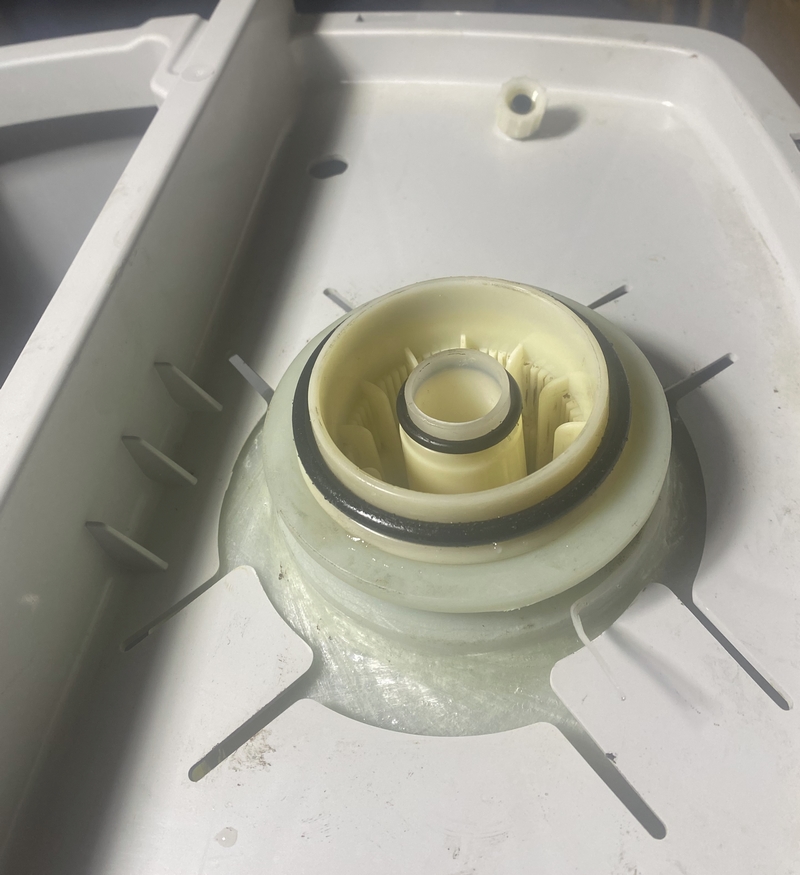
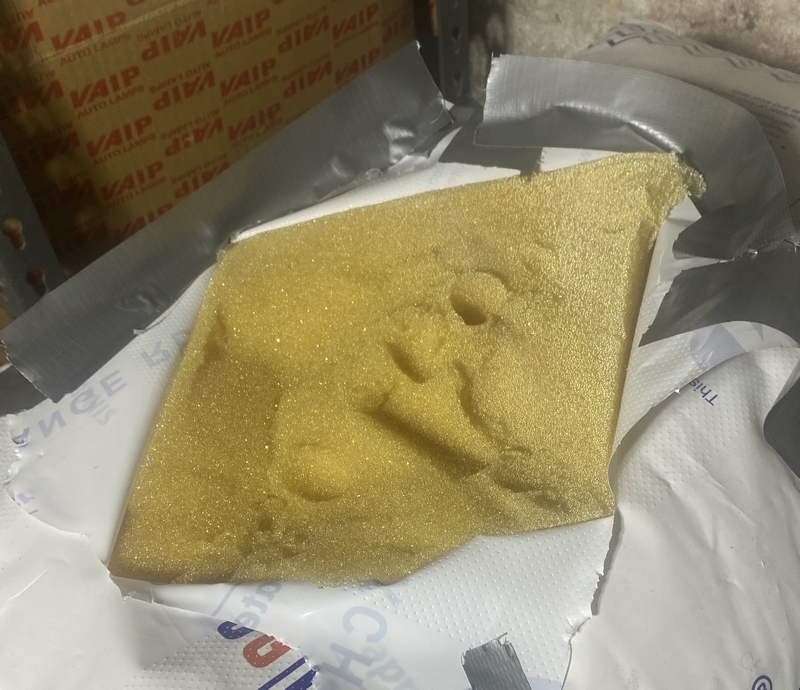
A cylinder fill doesn’t take very long using this method and almost all the resin ends up where it should be. The little bit left in the bag can be poured into the make shift funnel at the end. This seems to be the cleanest and quickest way to fill the resin tank. After the fill, tear away the make shift funnel, carefully remove the tape on the tube, and vacuum to remove any resin sitting in the O-ring area of the head. These softeners have a strainer that sits over the central tube. I simply put the o-ring on the strainer and gently push it in place. The tube o-ring is put on after that and the o-ring for the head I put back on it before gently placing it on top and pushing it down. Once seated properly, there are super easy clips that surround the neck and snap together completing the head install.
After re-attaching the wires to display cap, a fill and rinse of the brine cylinder can be completed. Run the water until the cylinder is full and then wait until it comes out clean. The initial water will have a brown tinge until the resin has been rinsed. And that’s about it. The unit can be regenerated after being loaded with salt and put back in service.Maybe this one will last for a couple of years…. or not…. oh that chlorine!